因为下个月Mei要回国,所以今天我试着自己搭了一座飞机场供她回国上网用。
首先,在Vultr上注册一个账号,绑定信用卡,然后开始创建实例。
这里选的是Cloud Computer:
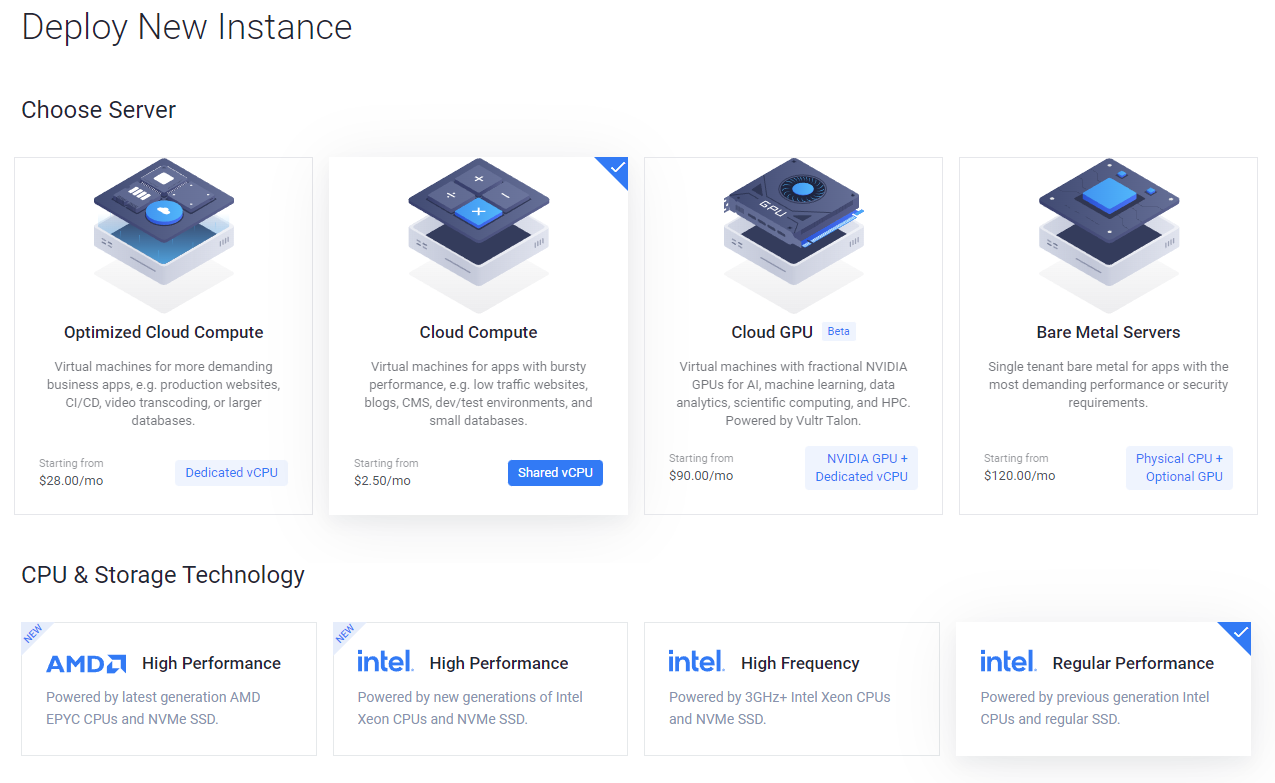
Server Location选了北美硅谷(这里有点私心,是因为以后出国旅游,我可以用它来登录公司的网络),操作系统是Debian:

配置就选了乞丐版$5一个月的(记得取消$1/月的自动备份):
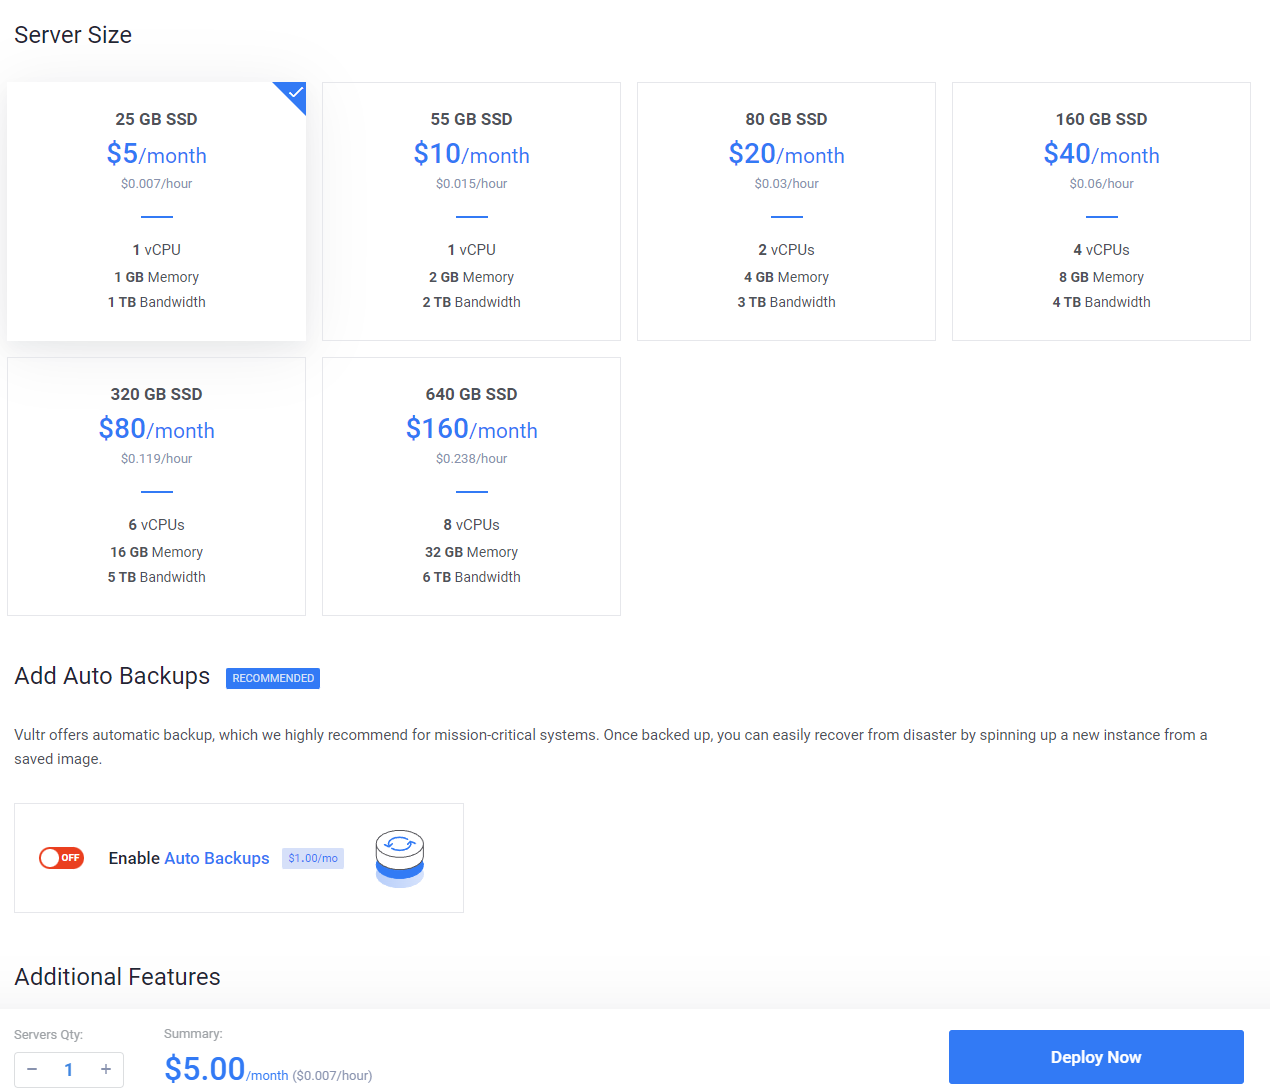
最后价格就是$5.00/月。
主机实例创建完之后,点击实例名,就能看到ip地址和密码,以供SSH:

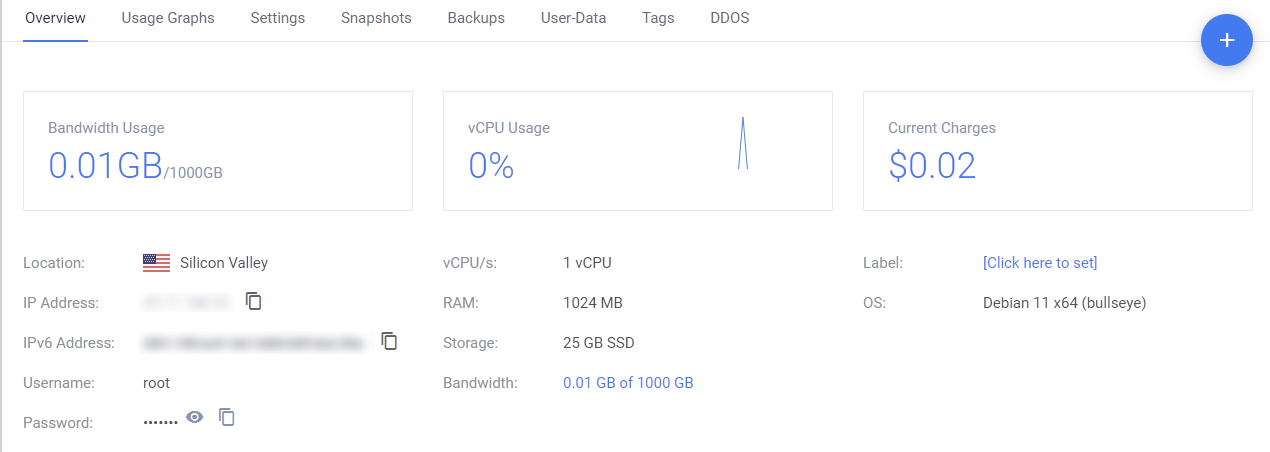
接下来,用PuTTy SSH到server的IP,输入用户名和密码,然后开始安装:
首先安装google BBR
wget --no-check-certificate https://github.com/teddysun/across/raw/master/bbr.sh && chmod +x bbr.sh && ./bbr.shlsmod | grep bbr接下来安装SS:
wget — no-check-certificate -O shadowsocks.sh https://raw.githubusercontent.com/teddysun/shadowsocks_install/master/shadowsocks.shchmod +x shadowsocks.sh./shadowsocks.sh 2>&1 | tee shadowsocks.log安装完毕后,需要提供连接密码,端口号,以及选择加密模式。
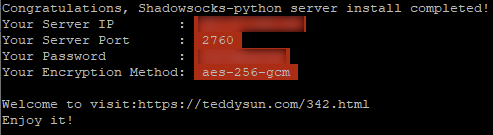
这些步骤,在网上很多教程里都有详细介绍,但是有一步没人提到,我也是折腾了半天,才解决,那就是在服务器上打开选择的端口。
我第一次安装完,在shadowsocks中配置完毕后,使用edge访问google,显示“Could not load template file no-server-data or one of its included components”的错误。用ip/端口工具(https://ping.eu/port-chk/)查询,发现端口2760并未开放。同时,SS日志(Help->Show Logs)同样提示连接超时。

这才明白,需要手动打开端口,这里我用的是2760端口,于是就需要在命令行中输入:
sudo ufw allow 2760最后,再一次测试,终于成功了!